


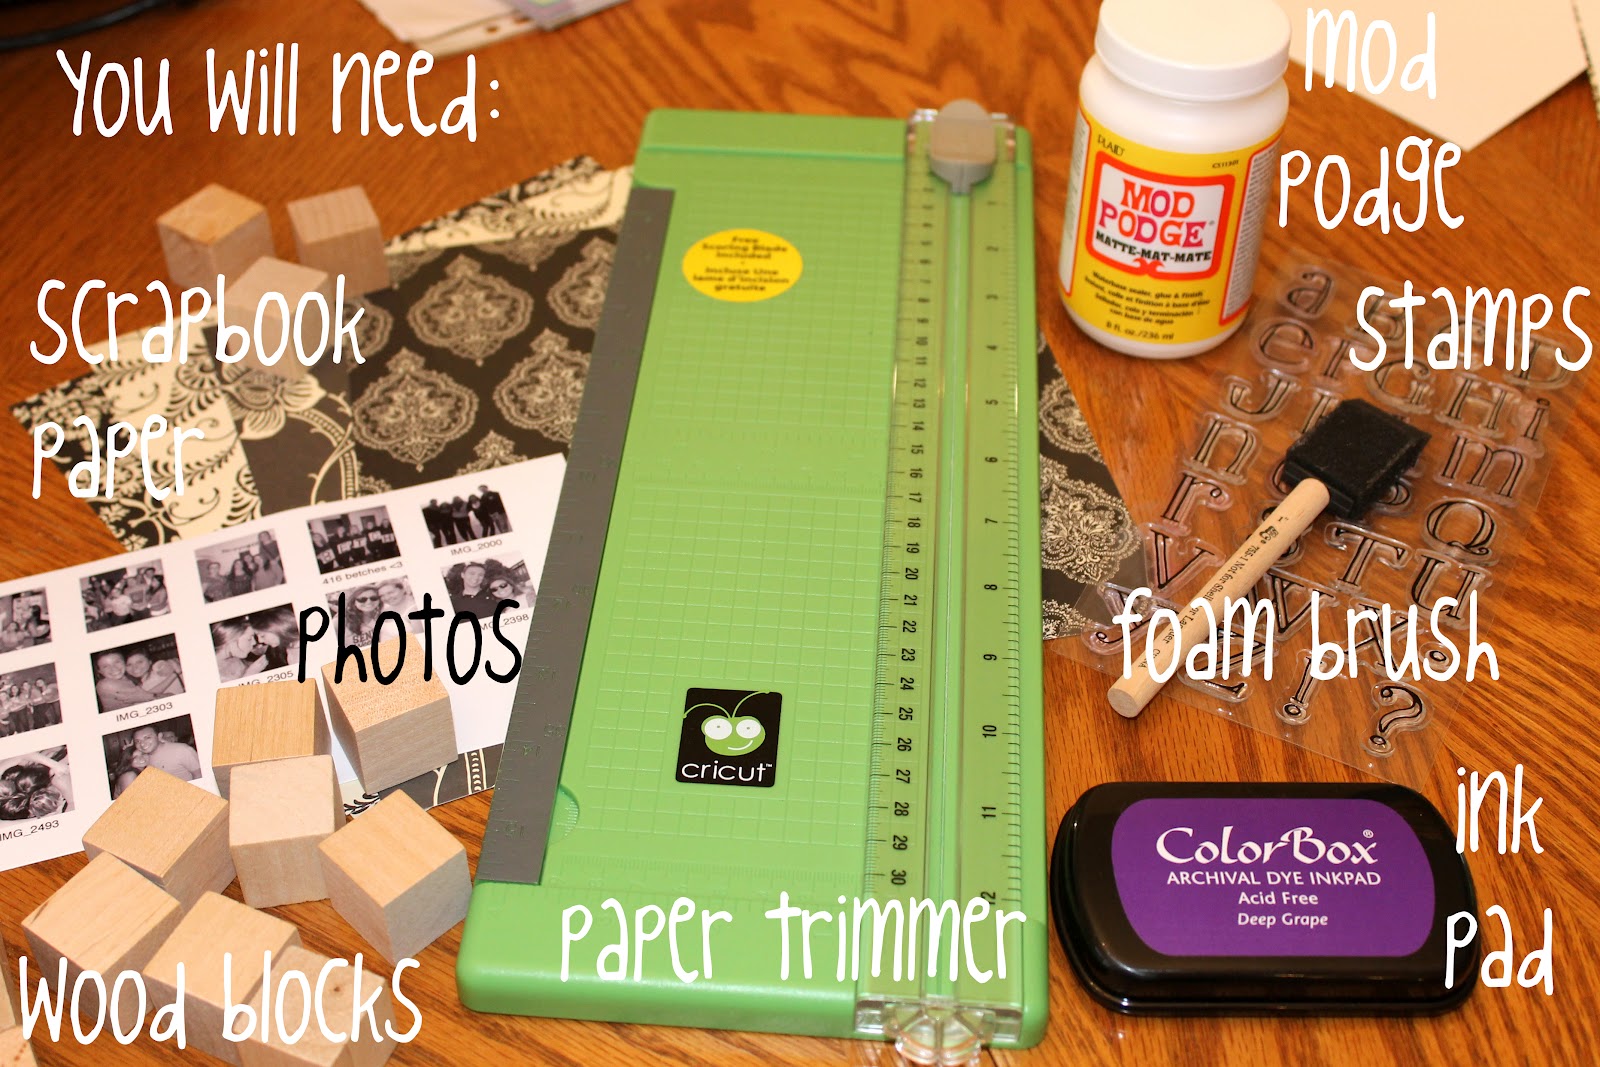
 I got 1" wood blocks for this project, so I cut down my scrapbook paper and sized my photos to 1" as well. They make larger blocks, but they get pricy, and this size turns out nice once they're all finished. I chose a black and white theme for my photos and paper to bring out my purple ink color for the letters, but the ability to completely customize these is the beauty of this project. After cutting down your paper into squares that fit your blocks, you can begin applying them to the wood. Use a layer of mod podge on a foam brush to adhere the paper to the sides of the blocks, and then use another layer of MP over the paper to seal it all.
 I used 17 blocks and printed 15 pictures, so bearing in mind that I needed 8 spaces on the front for my letters to spell "scranton", I put some of the pictures on the sides as well. Do a test on your photos with the mod podge, because depending on the type of photo paper, the ink may smear (mine did, so I only applied MP to the edges and the back, not on top of the photo). After the paper and the pictures are dry, you can apply your letters. I used clear rubber stamps (similar) and purple ink (I didn't love the type I used, this is better), but you can use rub ons or stickers as well.
After all of the blocks are finished, you can either leave them as they are and stack them up somewhere they won't get knocked, but I am constantly moving things around, so I like to glue my blocks together with yet another layer of Mod Podge. After that last layer dries, you're all finished! I put mine on one of my book shelves and hung my graduation tassel off of the top for a little nostalgic touch.

No comments:
Post a Comment